
Overview
The “Code with AI” feature in Softaculous is an AI-powered coding assistant integrated directly into your control panel. It helps you write, debug, refactor, and understand code in your projects without leaving your hosting environment.
Key Features:
- Read and write files in your project
- Write plugins
- Make websites
- Edit existing files with targeted changes
- Search files by name or content
- Debug and refactor code
- Plan changes before implementing them
- Multiple AI providers supported
Accessing the Code with AI Feature
Step 1: Log in to Softaculous
- Log in to your hosting control panel (Webuzo, cPanel, DirectAdmin, etc.)
- Navigate to the Softaculous section or icon
- The Softaculous dashboard will open

Step 2: Open the AI Assistant
- In the Softaculous header/navigation, look for the Code with AI link
- Click on it to open the AI Assistant interface
Setting Up the AI Assistant
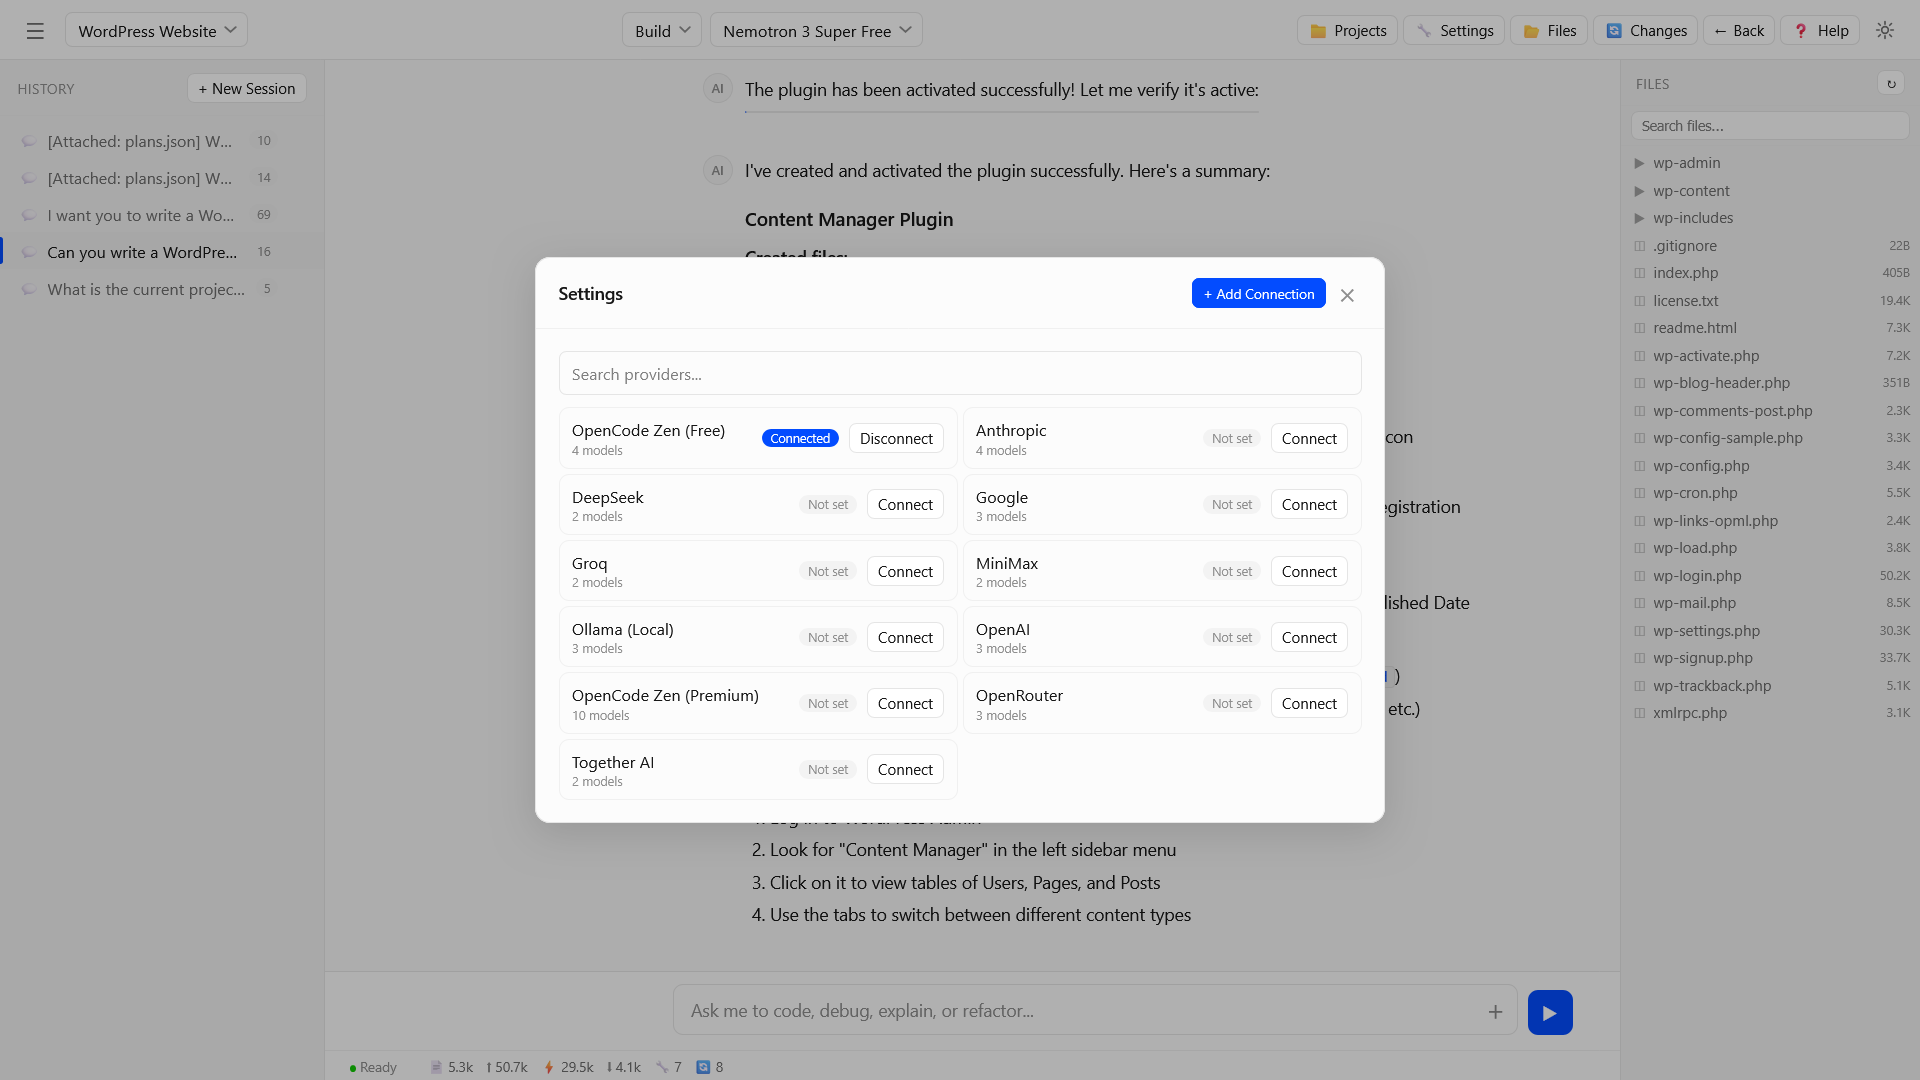
Connecting an AI Provider
Free Option:
- OpenCode Zen (Free) – Enabled by default
You can also connect to any other AI provider:
- Click the Settings button in the AI Assistant header
- Find the provider you want to use and click “Connect”
- Enter your API key and click “Connect”
- Use the “Test” button to verify your connection works
Supported AI Providers:
- OpenAI (GPT-4o, GPT-5)
- Anthropic (Claude)
- Google (Gemini)
- DeepSeek
- Groq
- Together AI
- OpenRouter
- Ollama (local)
- MiniMax
- Custom OpenAI-compatible providers
Selecting an AI Model
- Once connected, choose an AI model from the dropdown in the header
- The selected model will be used for all AI interactions in your current session
Creating a Project
The AI Assistant works within projects, which are linked to directories on your server.
Create a New Project
- Click “Projects” in the AI Assistant interface
- Click “+ New Project”
- Choose one of the following options:
- Select an existing WordPress installation from the list
- Or Enter a custom directory path manually
4. The project will be created and linked to the selected directory
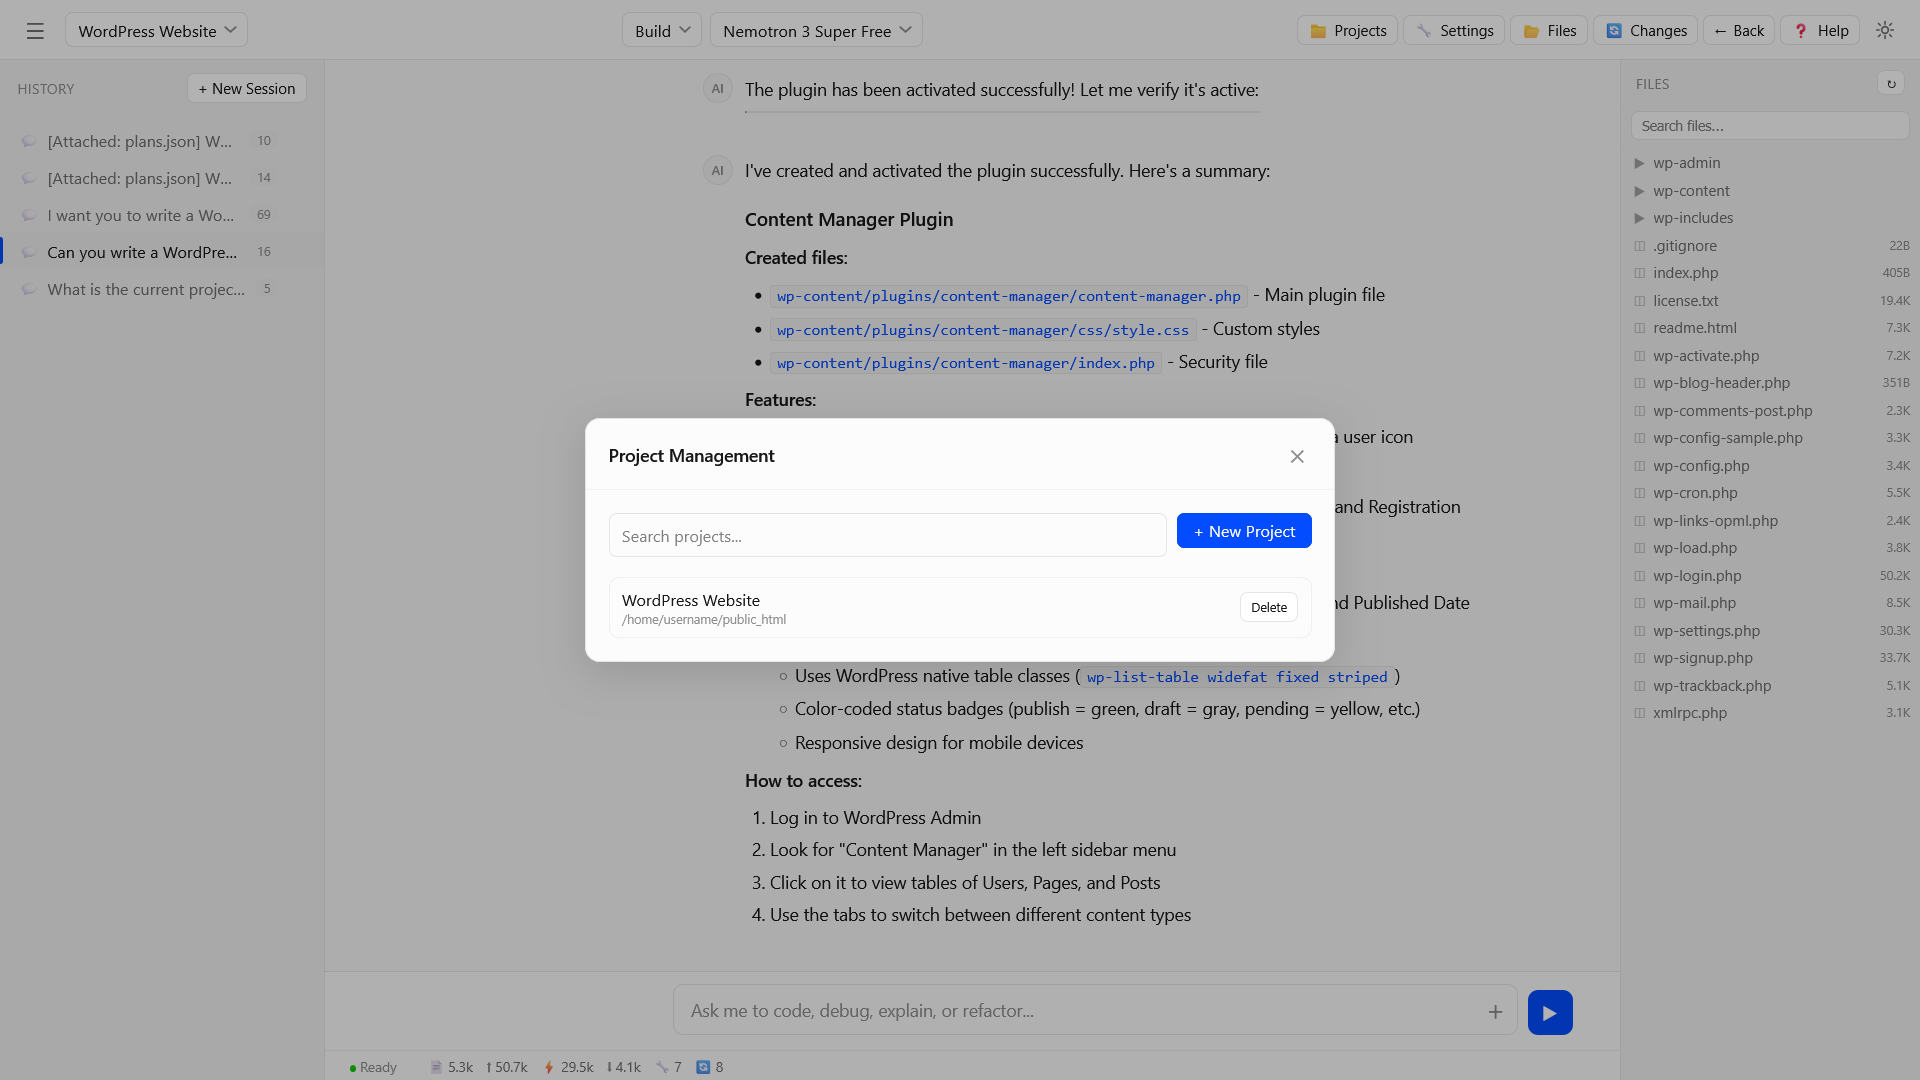
Switch Between Projects
- Use the project dropdown in the header (next to the sidebar toggle button) to switch between projects
- Each project has its own chat sessions, conversation history, and file tree
Using the AI Assistant
Starting a Chat Session
- Select your project from the dropdown
- Choose an AI model from the header dropdown
- Type your request in the chat input at the bottom
- Press Enter to send
- The AI will respond and can perform actions like editing files or running commands
Creating New Sessions
- Click “+ New Session” to start a fresh conversation
- Previous sessions are listed in the sidebar
- Click on any previous session to resume it
- Archive sessions with the respective button
Build Mode vs. Plan Mode
The AI Assistant has two operating modes:
Build Mode
- The AI has full access to read, write, edit files, and run commands
- Use this when you want the AI to make changes to your project
- Default mode for active development
Plan Mode
- The AI operates in read-only mode
- It can explore and analyze your code but cannot modify anything
- Use this for:
- Code reviews
- Explanations
- Planning changes before implementing them
Switching Modes
- Use the mode toggle in the interface
- Or use slash commands:
- Type
/buildto switch to Build mode - Type
/planto switch to Plan mode
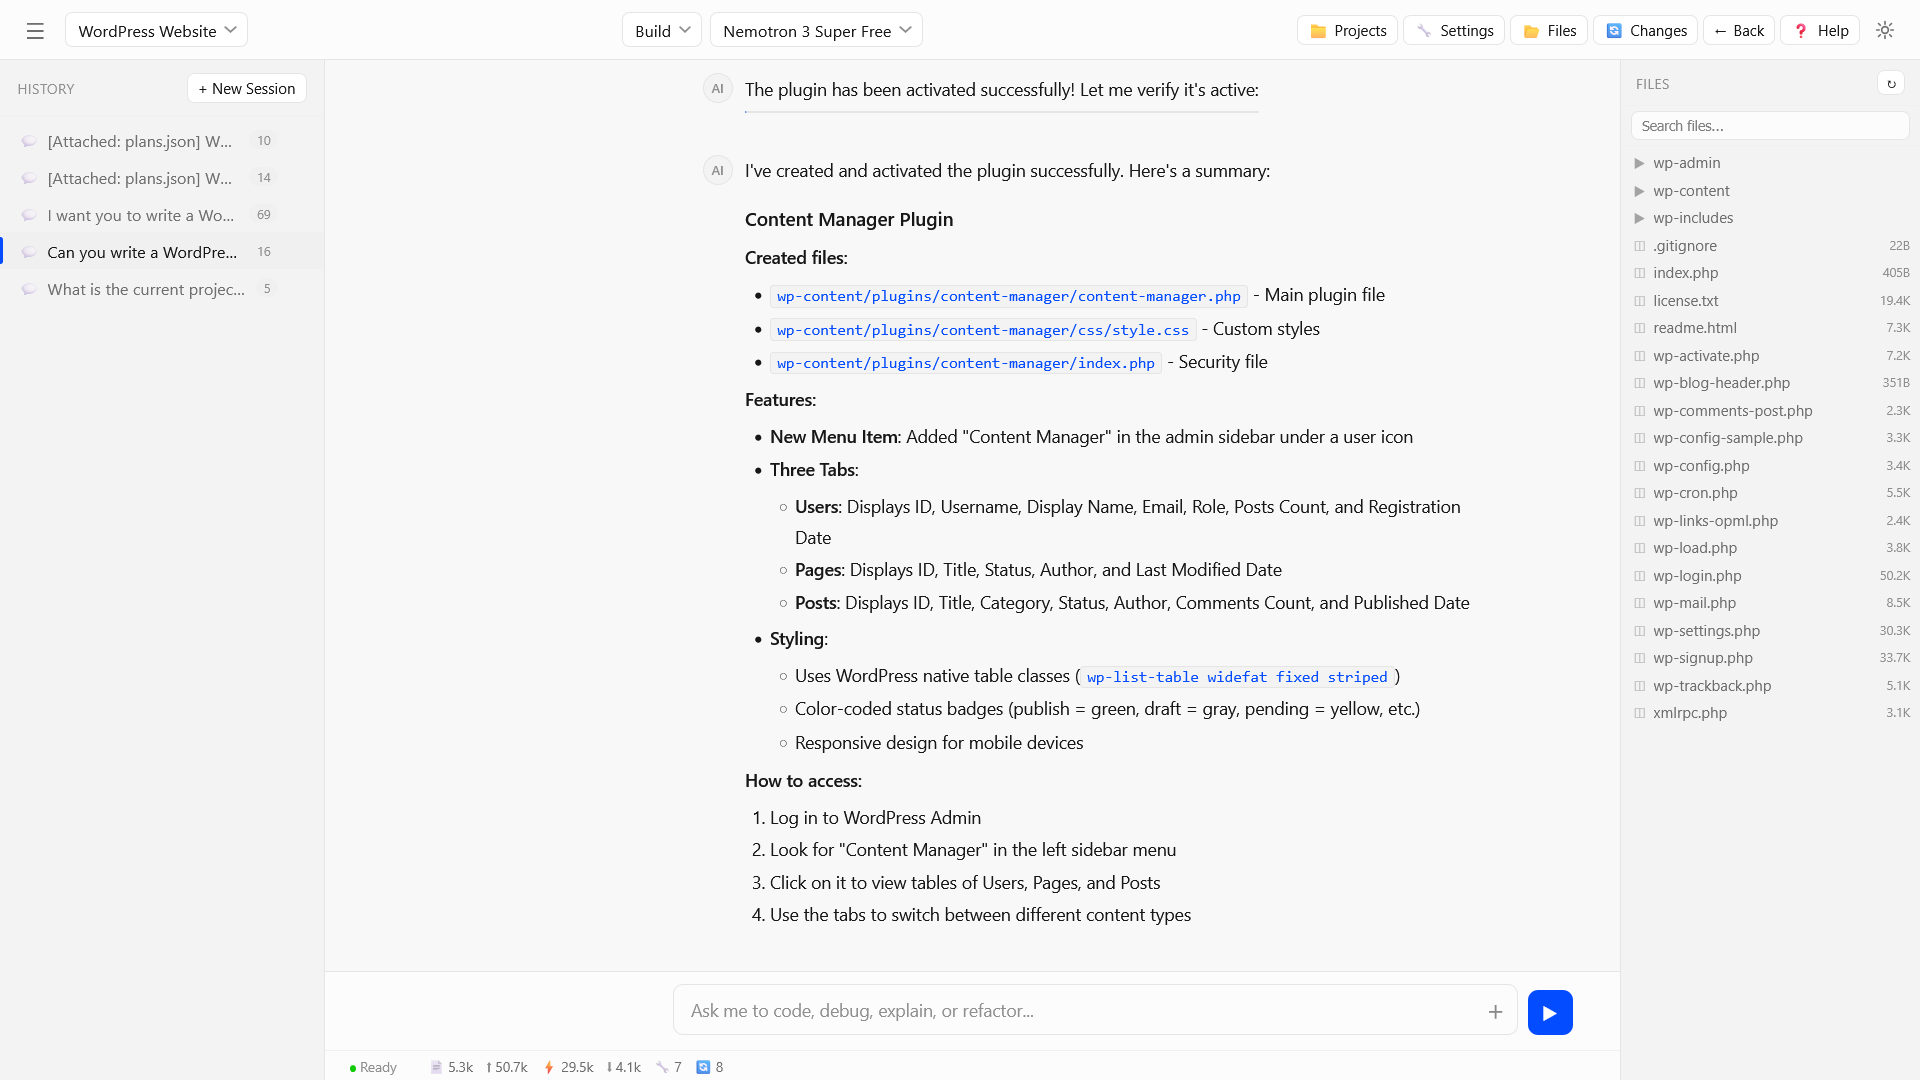
What the AI Can Do
File Operations
- Read files – View file contents
- Write files – Create new files
- Edit files – Make targeted changes to existing files
- Search files – Find files by name or content
System Operations
- Run shell commands – Execute commands in your project directory
- Create directory listings – View project structure
Code Assistance
- Write new code
- Troubleshoot website issues
- Debug existing code
- Refactor and optimize code
- Explain code functionality
- Generate code snippets
Slash Commands
Type / in the chat input to see available commands:
| Command | Description |
|---|---|
/build | Switch to Build mode |
/plan | Switch to Plan mode |
/clear | Clear current conversation |
/export | Download conversation as Markdown |
/help | Show keyboard shortcuts |
Keyboard Shortcuts
| Shortcut | Action |
|---|---|
Escape | Stop streaming / Close modals |
Enter | Send message (Shift+Enter for new line) |
Ctrl+Shift+N | New session |
Ctrl+Shift+P | Plan mode |
Ctrl+, | Open Settings |
Best Practices
When to Use Build Mode
- Writing new code
- Fixing bugs
- Refactoring existing code
- Running commands to set up your project
- Making configuration changes
When to Use Plan Mode
- Reviewing code before making changes
- Understanding complex code
- Planning architectural changes
- Getting explanations of how code works
- Analyzing potential issues
Writing Effective Prompts
- Be specific about what you want the AI to do
- Provide context about your project structure
- Mention file names when referring to specific files
- Break complex tasks into smaller steps
- Review AI changes before accepting them
Security Considerations
- Review all file changes before applying them
- Don’t share sensitive API keys or passwords in chat
- Use Plan mode when exploring unfamiliar code
Troubleshooting
AI Provider Connection Issues
Problem: Cannot connect to AI provider.
Solutions:
- Verify your API key is correct
- Check if your API key has available credits/quota
- Try the “Test” button in Settings to verify connectivity
- Use OpenCode Zen (Free) if you don’t have an API key
AI Not Responding
Problem: Messages are not getting responses.
Solutions:
- Check your internet connection
- Verify the selected AI model is available
- Check if you’ve reached API rate limits
- Try switching to a different AI provider
File Access Issues
Problem: AI cannot read or write files.
Solutions:
- Verify the project directory path is correct
- Check file permissions on your server
- Ensure the directory exists and is accessible
- Try creating a new project with the correct path
Session Management
Problem: Cannot find previous conversations.
Solutions:
- Check the sidebar for previous sessions
- Ensure you’re in the correct project
- Sessions are project-specific – switch projects if needed