Installing WordPress on a Cloud server can seem to be a complex task but in today’s time it doesn’t have to be so complex. What if I told, you can set up WordPress on a DigitalOcean Droplet with just a couple of clicks and in under 5 minutes ?
Read further and find out how.
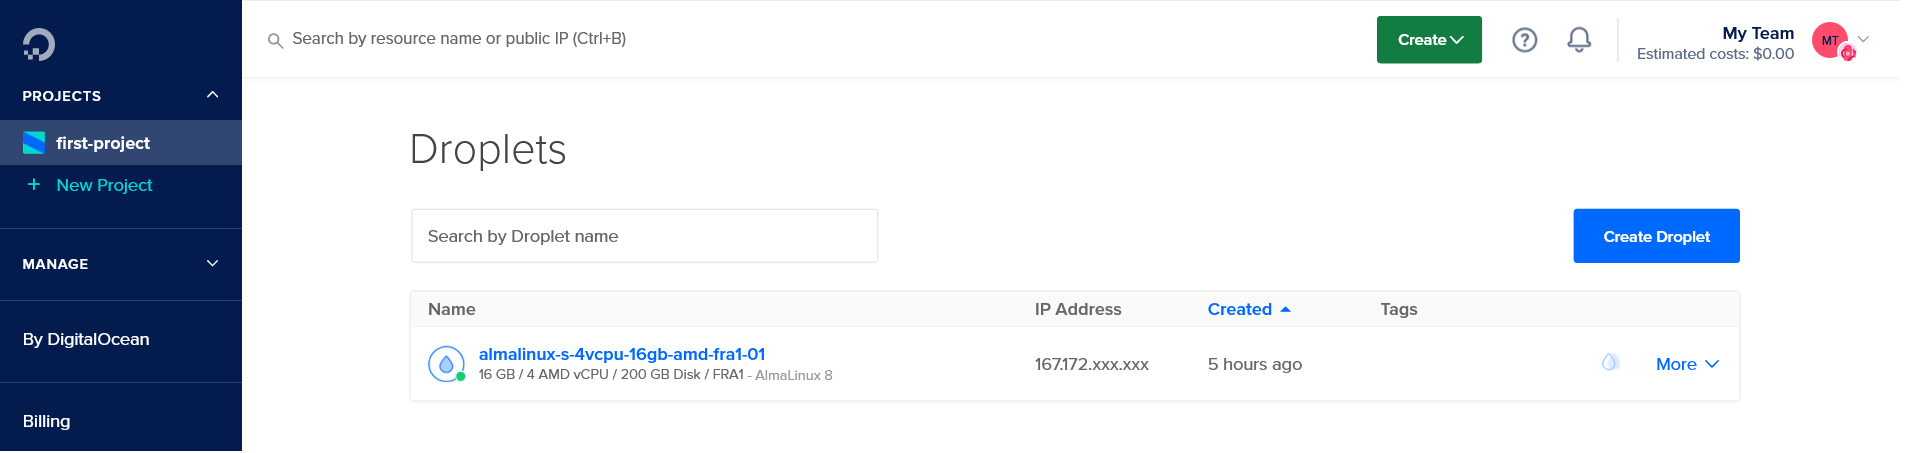
Launch a DigitalOcean Droplet
We will need a running DigitalOcean Droplet and a Private key to access the droplet. If you already have a droplet jump to the next step.
Head over to the DigitalOcean website and Launch a Droplet. You will need a public key which you will enter while launching the droplet. Keep the private key for your record as you will need it to authenticate while logging into the droplet.
Once the droplet is launched take a note of the IP address shown on the Droplets page.
Login to Softaculous Cloud
You will need a Softaculous Cloud Account to be able to launch WordPress quickly on your DigitalOcean droplet. Not registered yet ? Sign up here
Install WordPress
Go to the Servers page in Softaculous Cloud panel and click on Add Server button.
Fill in your server credentials:
- Domain: The domain name where you wish to access your WordPress installation. E.g. mywordpress.com
- Authentication Type: Choose I have a Fresh VPS and root credentials and nothing else installed
- Server Hostname or IP: The hostname or IP address of your DigitalOcean Droplet
- SSH Port: The SSH port of your droplet. Default: 22
- SSH Username: Will be root and cannot be changed
- Authentication Method: Digital Ocean allows access via private key so please choose Private Key radio button
- SSH Private Key: The private key to be used to authenticate to your droplet
- Passphrase (Optional): If your private key is password protected please enter the passphrase otherwise you can leave it blank
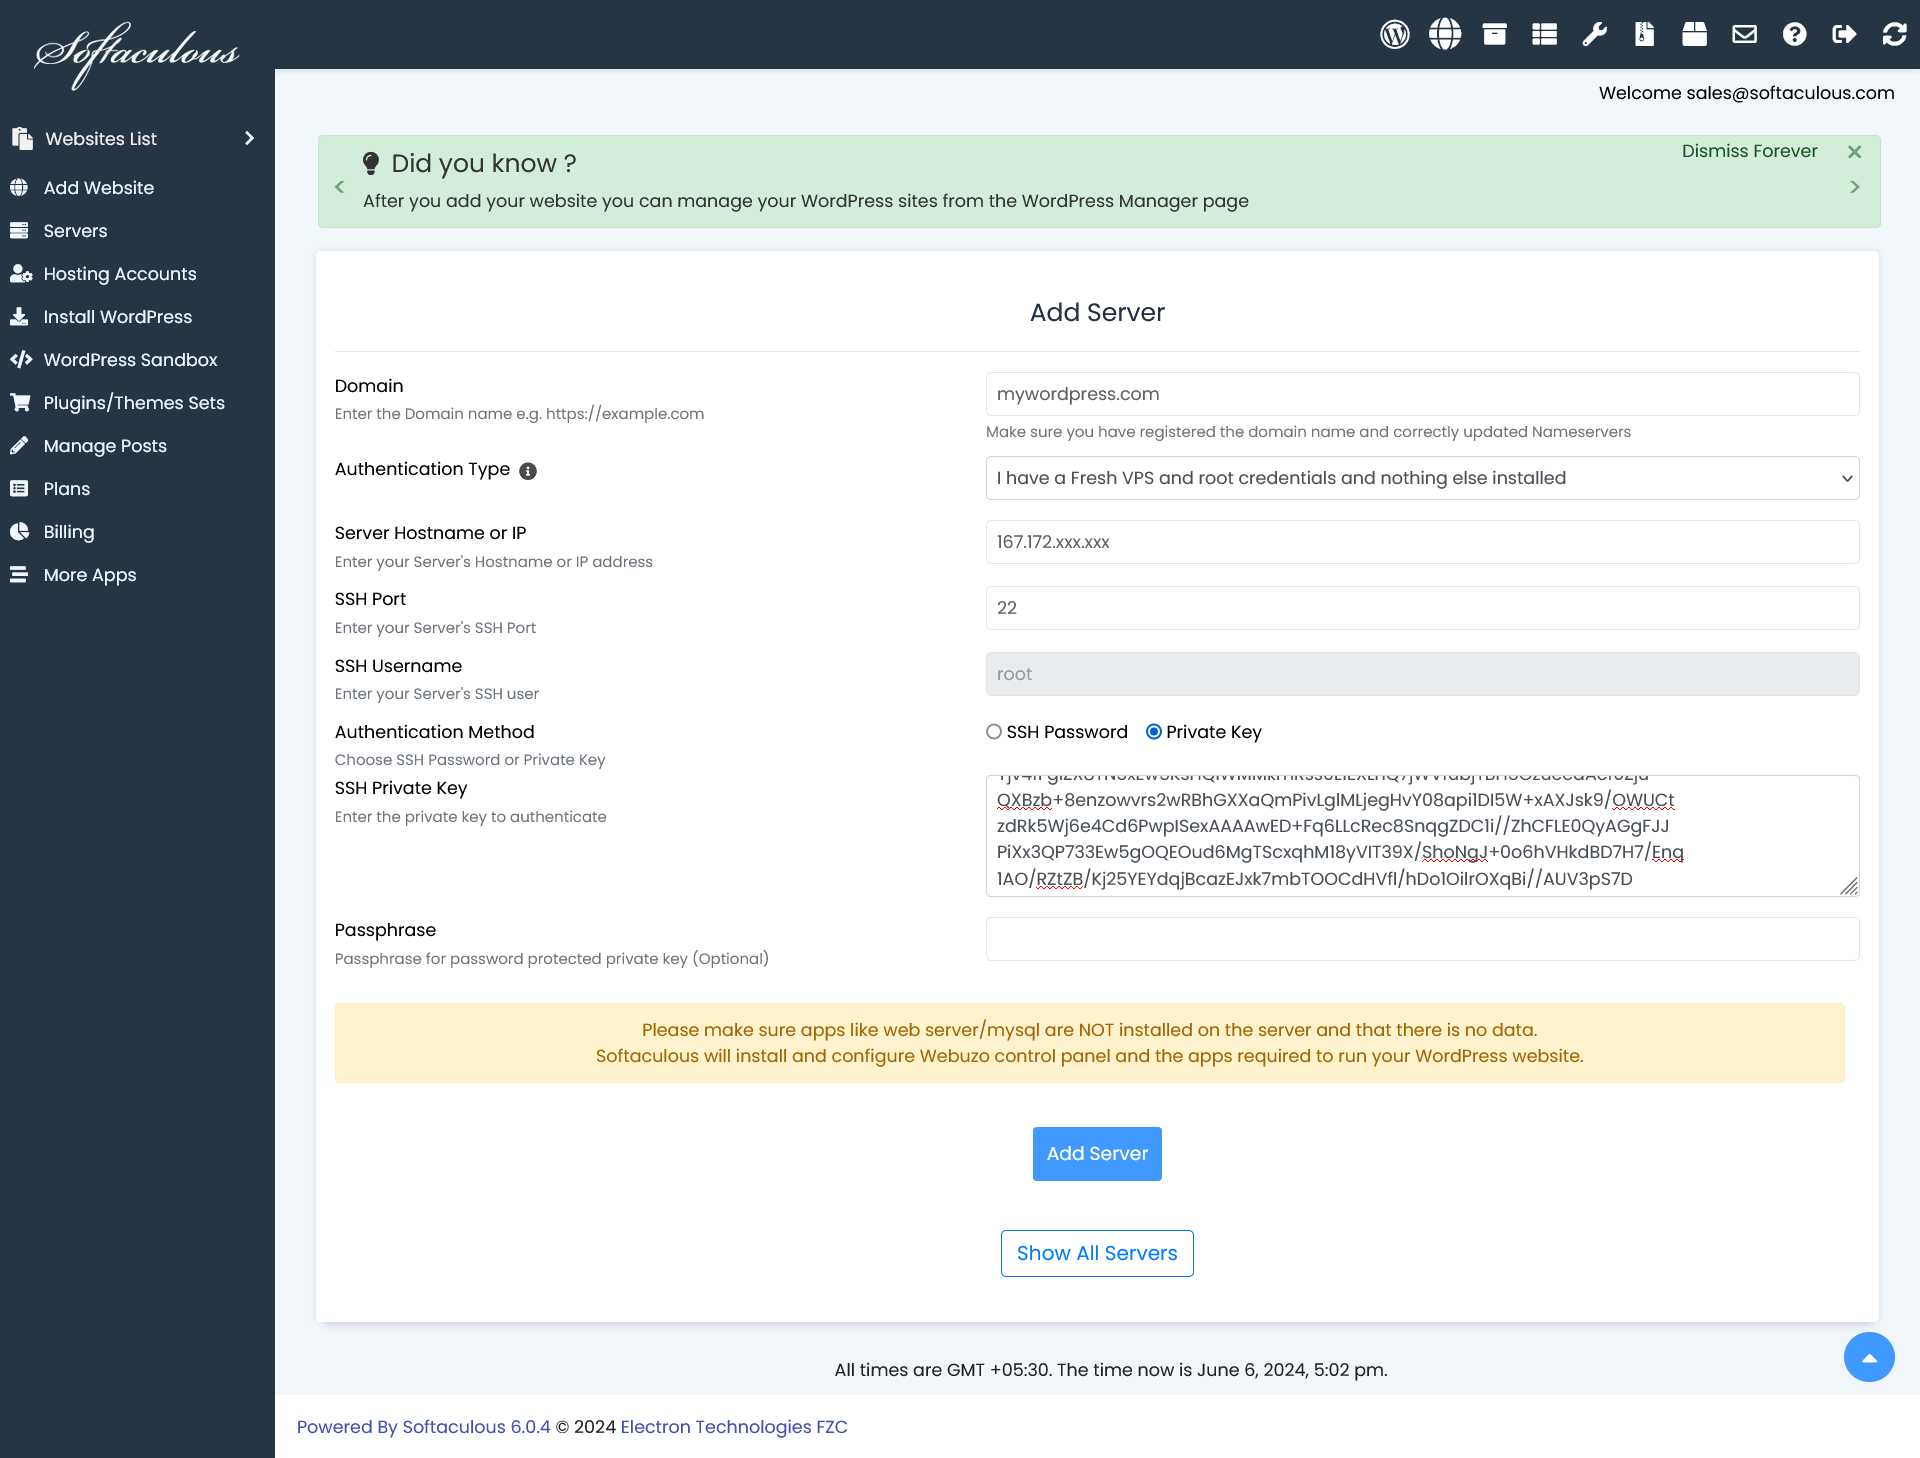
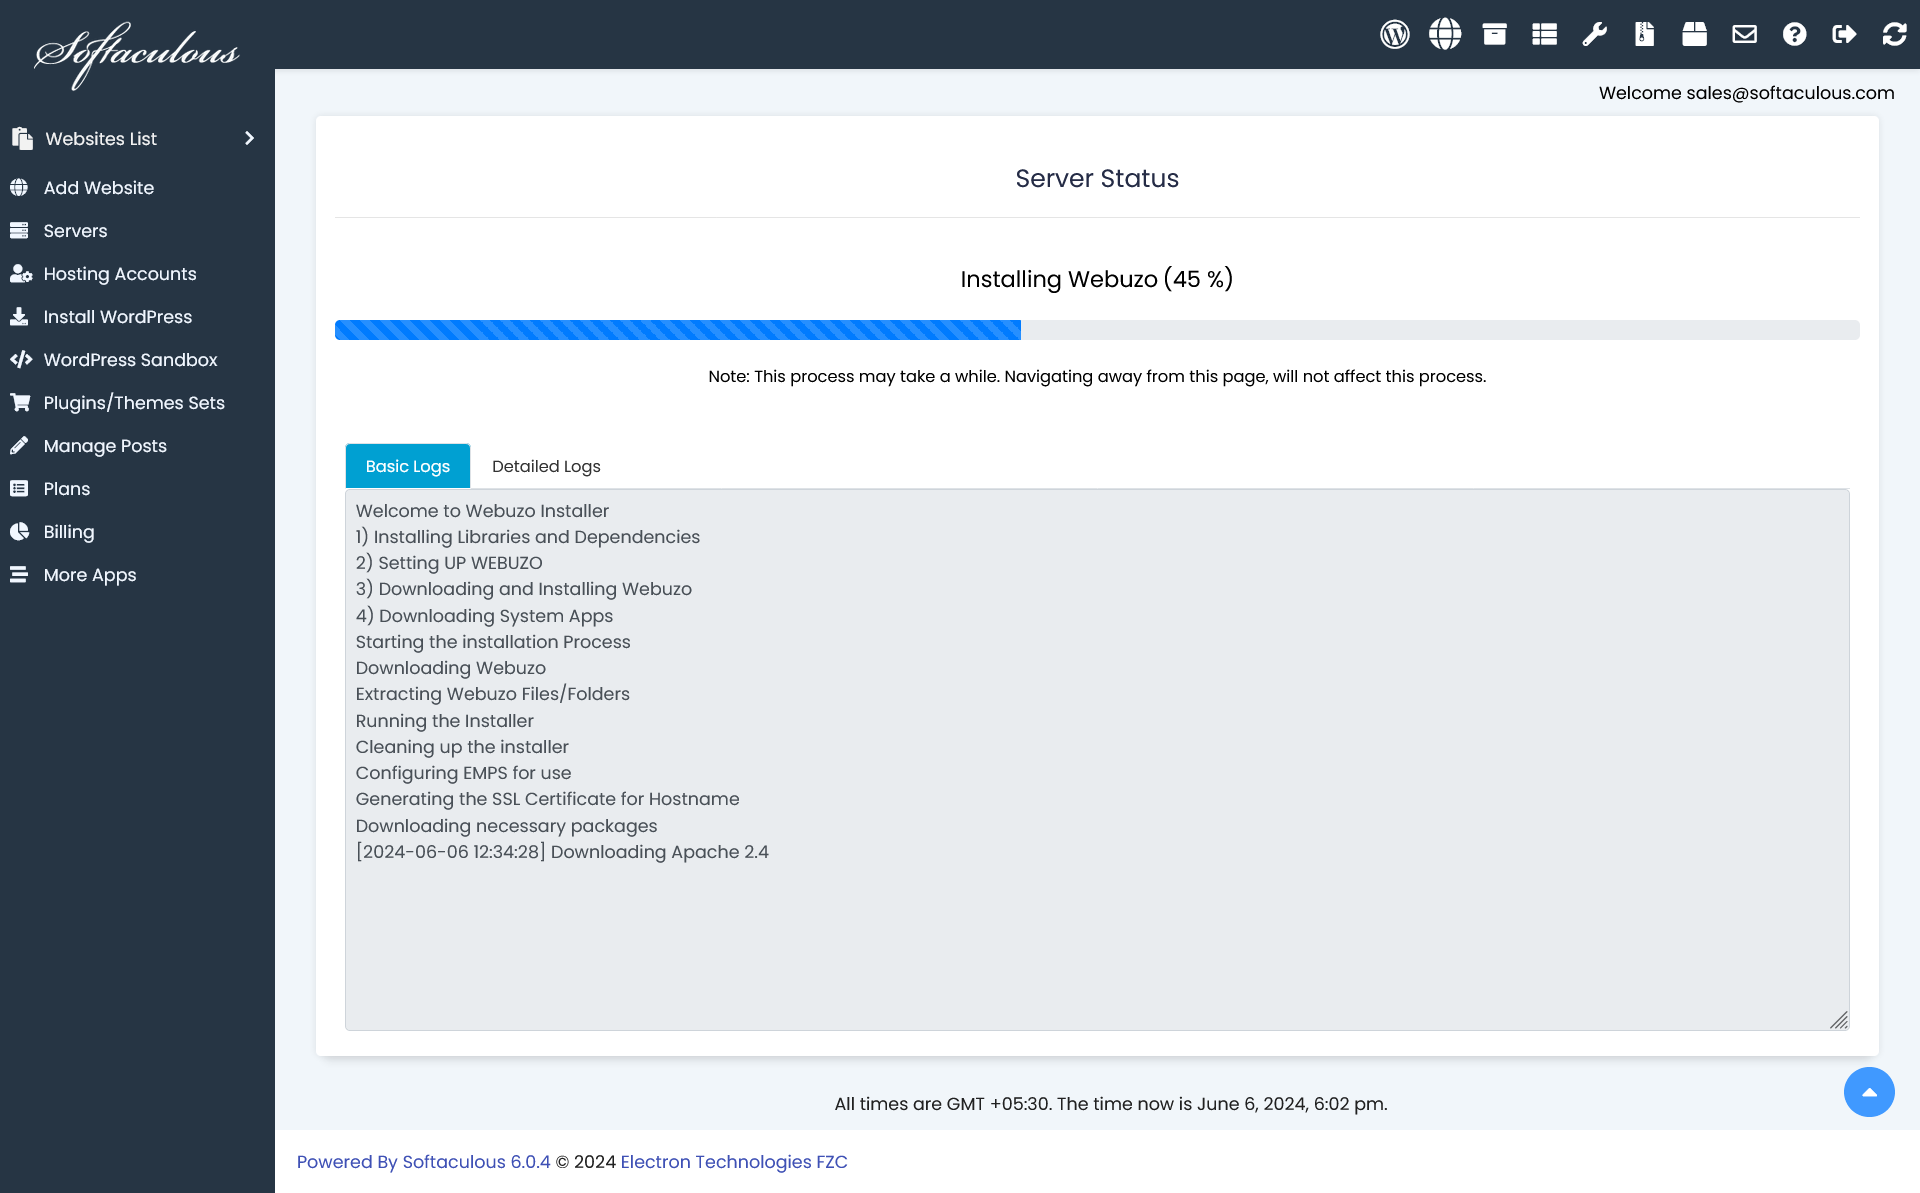
Once you have filled in the form hit the Add Server button. You will be redirected to the status page where you can track the progress of your WordPress set up.
Now Sit back, relax and sip your favorite brew!
Behind the Scenes
While you check the progress, Softaculous will perform the following steps on your DigitalOcean Droplet:
- Install Webuzo Control Panel. No additional cost for the Webuzo license.
- Add & Configure your Domain on the server
- Install SSL certificate for your domain
- Install WordPress on your domain
The login details for the control panel and for the WordPress admin account will be emailed to you once the process is completed.
Note: If your domain is not yet pointing to your server, SSL certificate and WordPress will not be installed. You can install the same after the Nameservers have been updated.
WordPress Installed
That’s it! As soon as the process completes your WordPress will be ready to use.
Wasn’t it easy ?
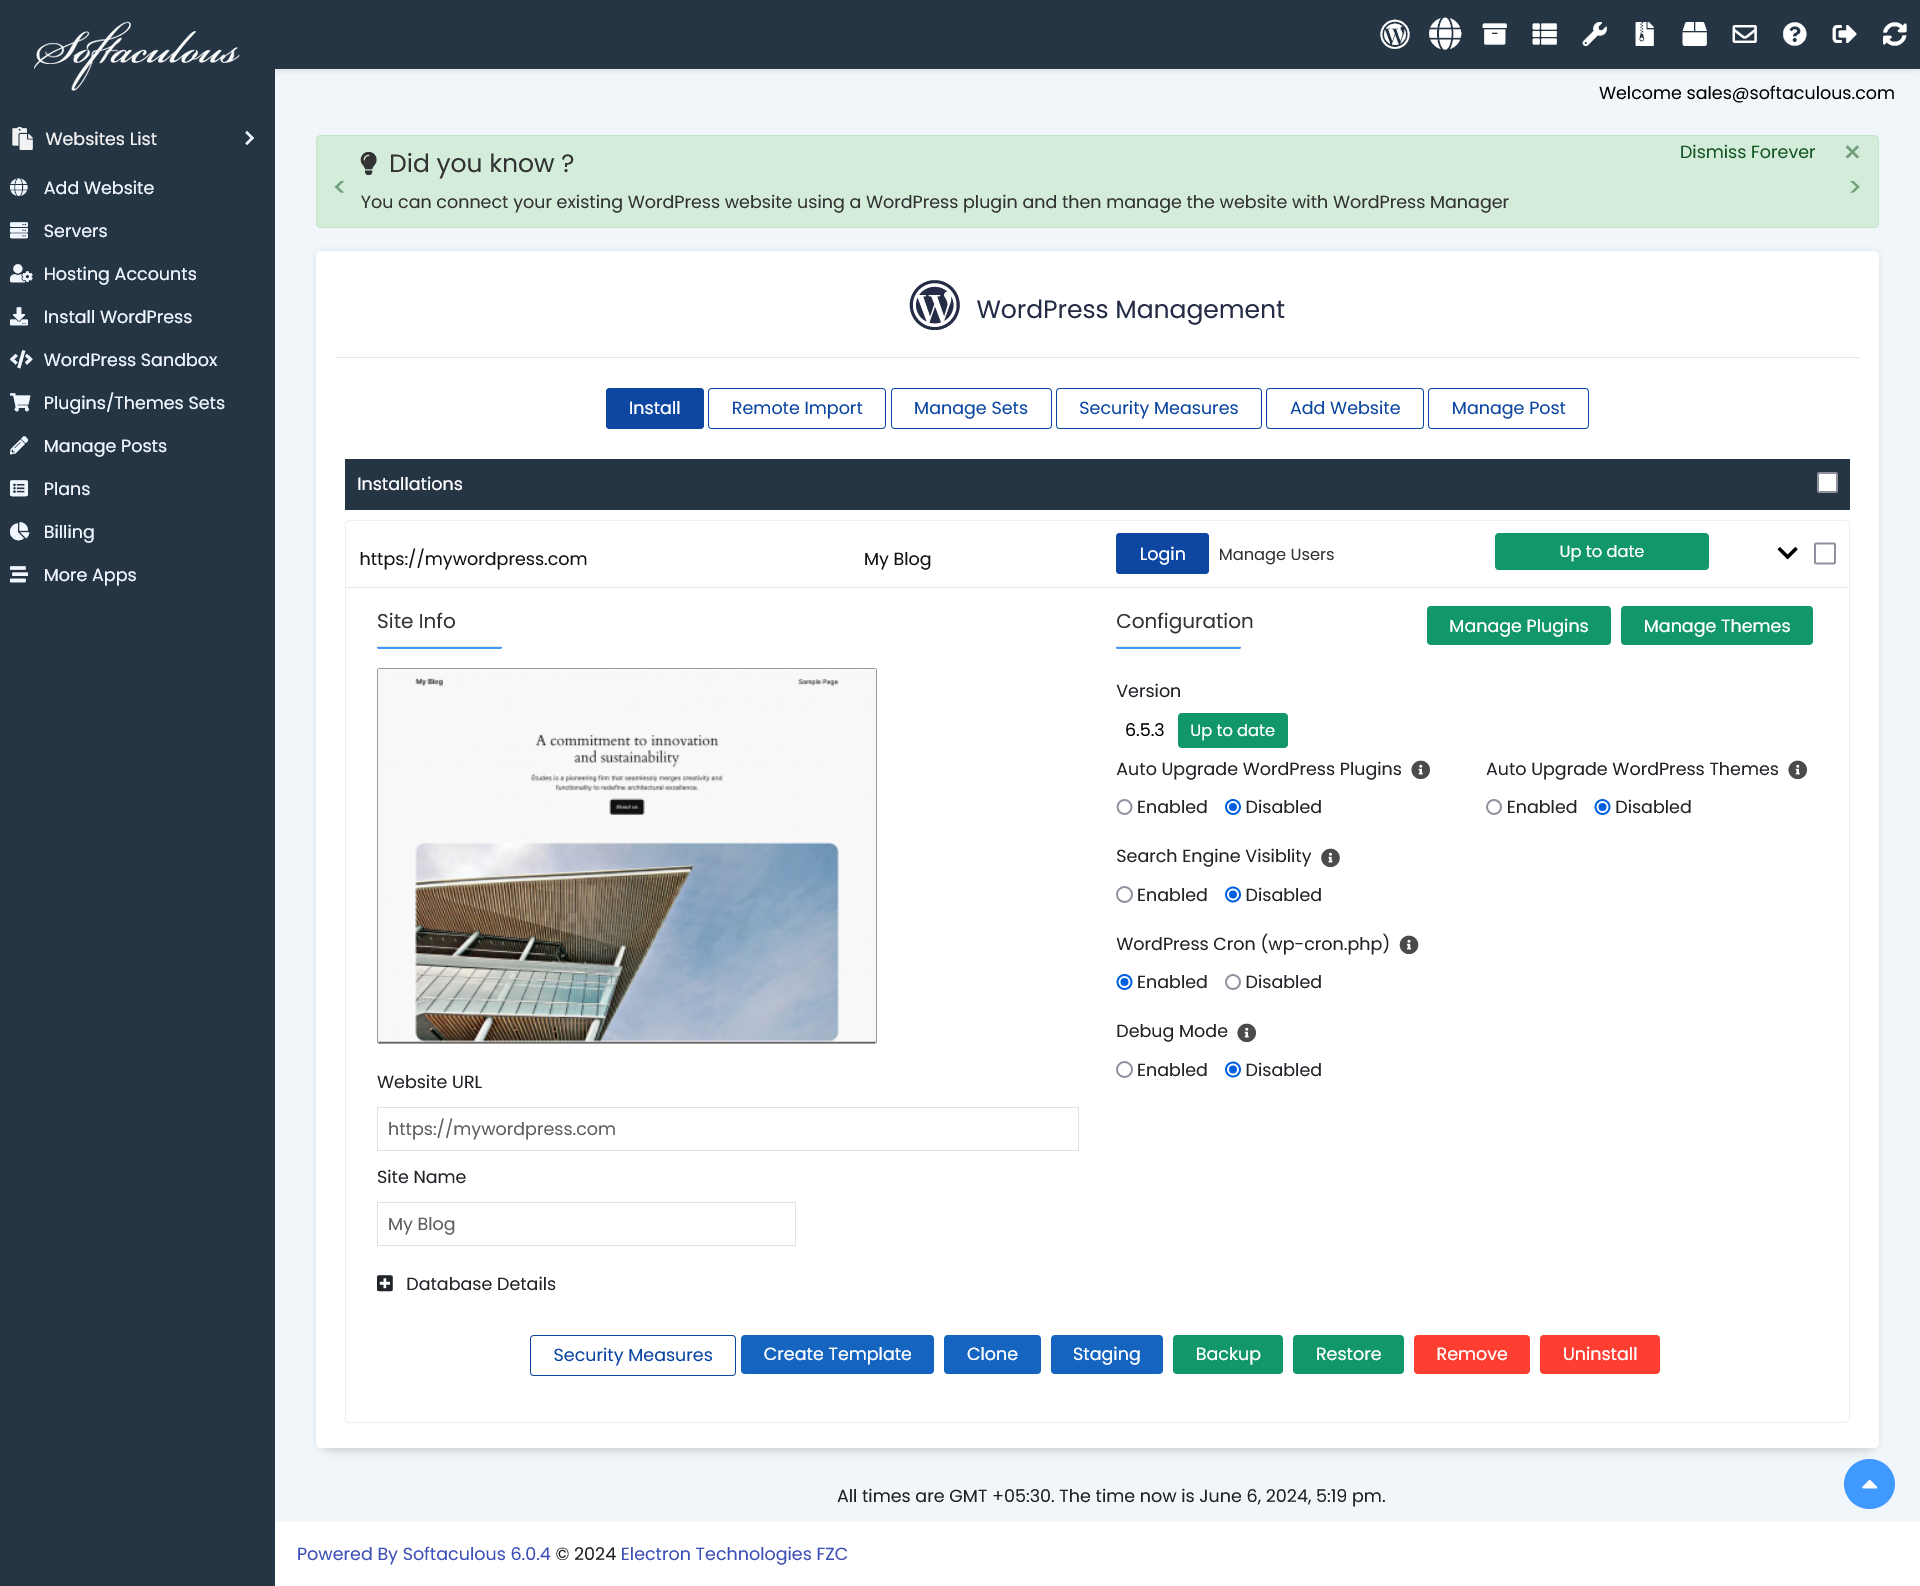
You can manage your WordPress installation upgrades, backups, staging, cloning, template and much more using the WordPress Manager.
If you setup WordPress frequently Softaculous Cloud can save a huge chunk of your time in setting up WordPress which you can utilize in designing your website.
If you face any issues or have any questions feel free to reach out to our support team.
Note: The set up time was calculated on a DigitalOcean Droplet with 2 GB RAM and 1 CPU. The installation time may differ based on the network and performance of your droplet.
Want to install WordPress on Vultr ? Refer this article.