Server crashed ? Had a backup but on the same server ? Bad idea!
Why not backup your installation in a trusted provider like Google Drive ? Your backup will always be safe.
By the end of this article, you’ll have complete knowledge on how can you configure your Google drive as a backup location in Softaculous and then create a backup of your WordPress site over it.
Step 1: Configure your Google Drive as a backup location in Softaculous
You will need to add your Google Drive as a backup location in Softaculous before you can create a backup over it. You can follow the below steps in order to do so.
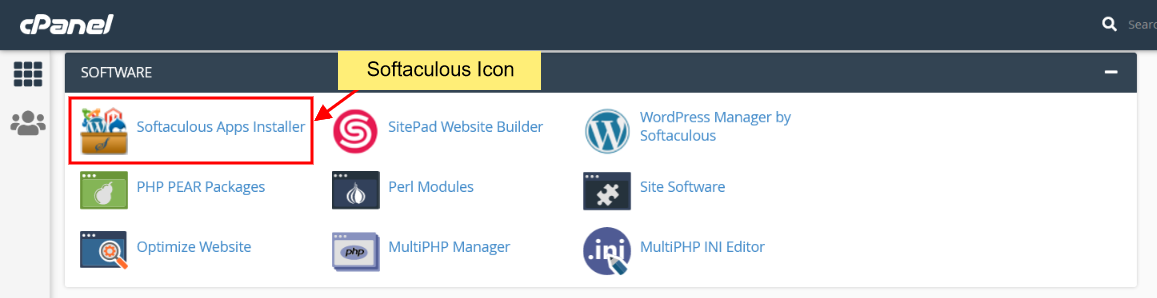
- Login to your Control panel (e.g. cPanel).
- Look for the Softaculous icon and click on that icon to go to the Softaculous page.
- On the top-right icons section, you can find the Backups and Restore icon and after the page is loaded click on the Manage Backup Locations button.
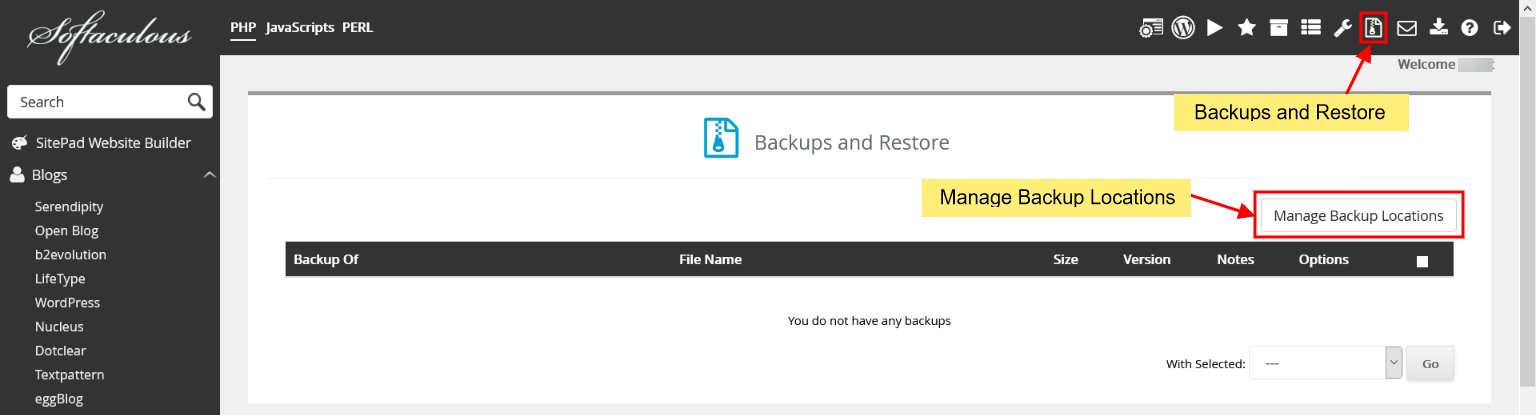
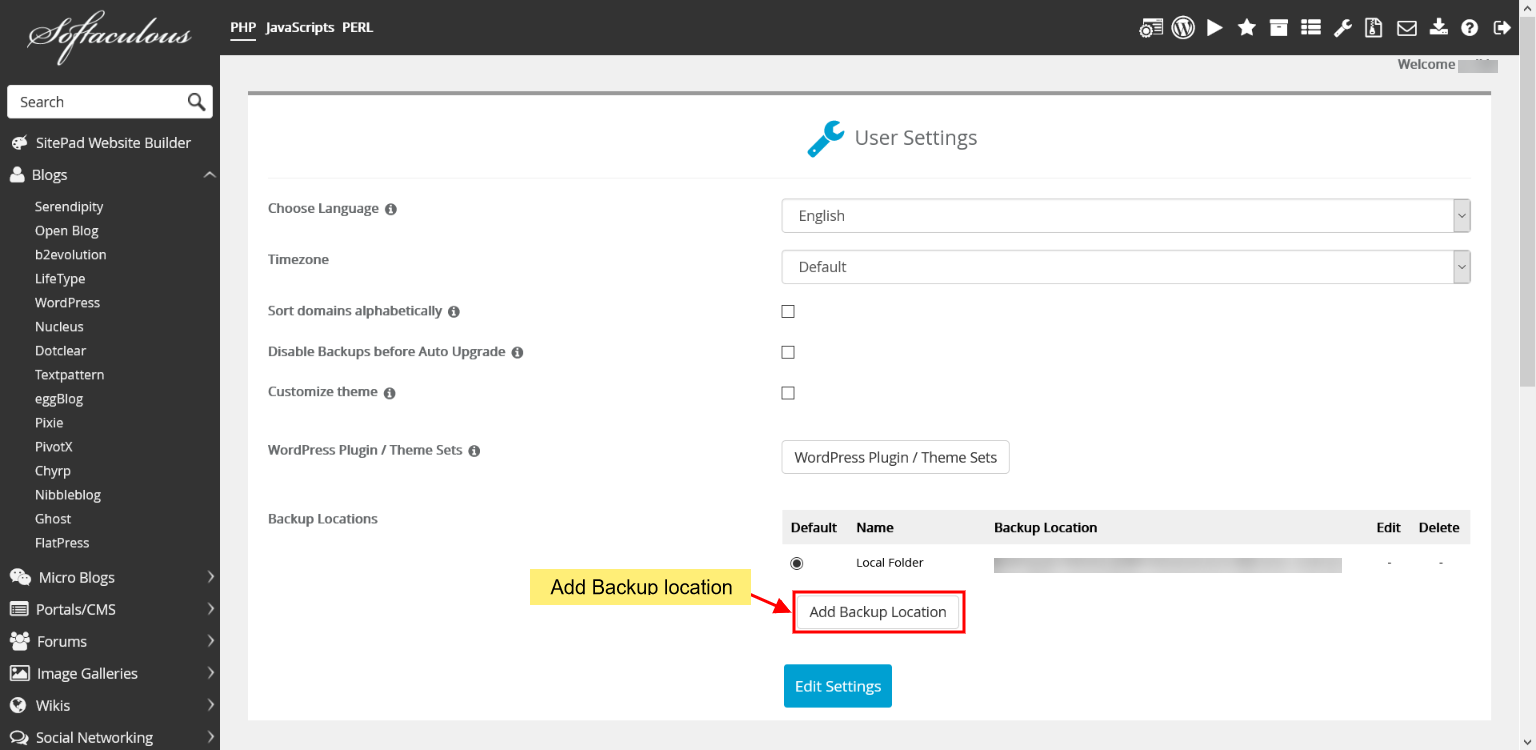
- Now click on the Add Backup location button and you’ll be redirected to the page where you can add your Google Drive as a backup location.
- Add a descriptive name to the Location Name field for your Google drive backup location. Your Google Drive location will be visible to you in the backup locations list on the Edit Settings page by this name.
- Select the Google Drive protocol from the Protocol list box.
- In the Backup Location (Optional) field you can add the folder where you wish to make your backups on google drive. e.g. /backups . By default, if the field is empty, and your backups will be created at ‘Softaculous Auto Installer‘ folder on your Google Drive.
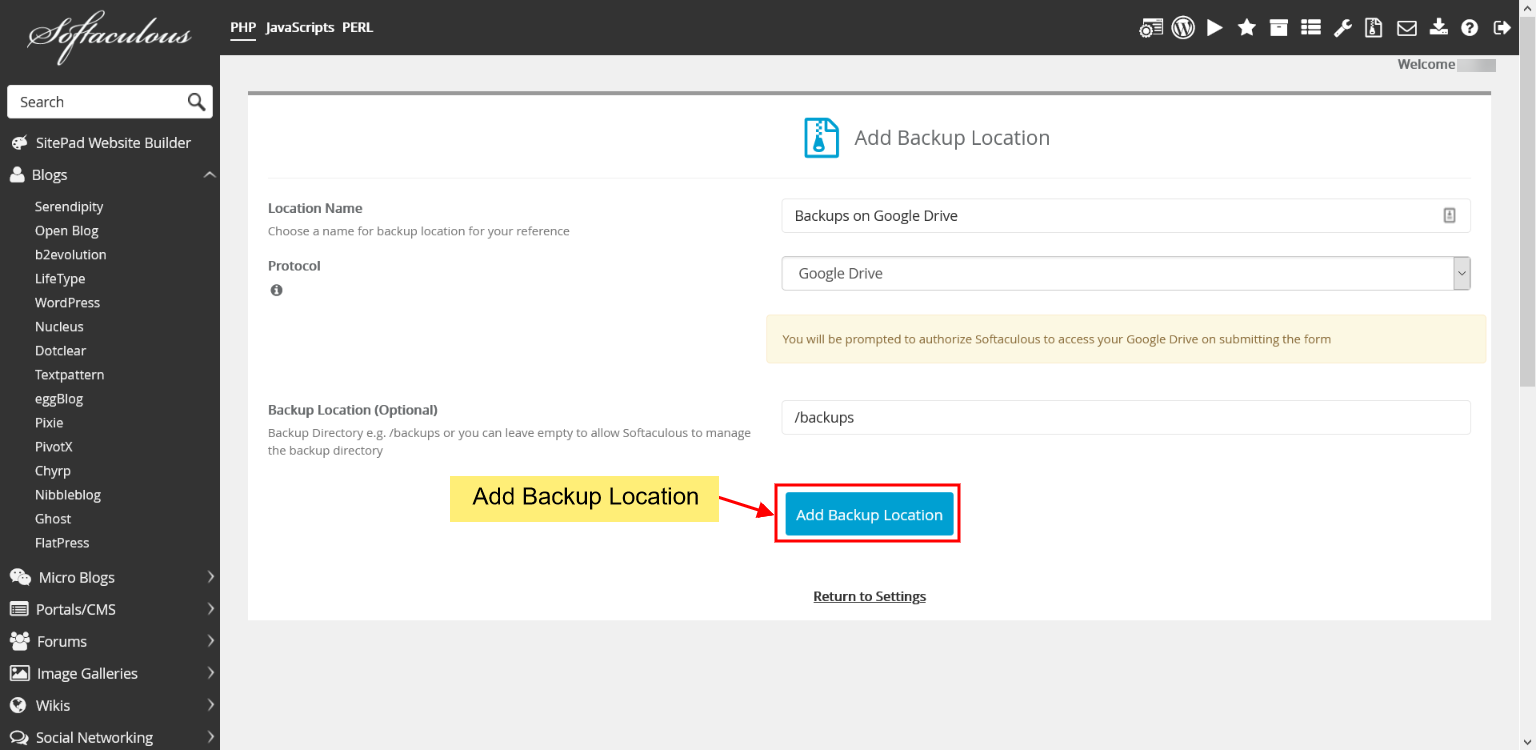
- After filling the above fields, click on the Add Backup Location button and you will be redirected to the Google authorization page.
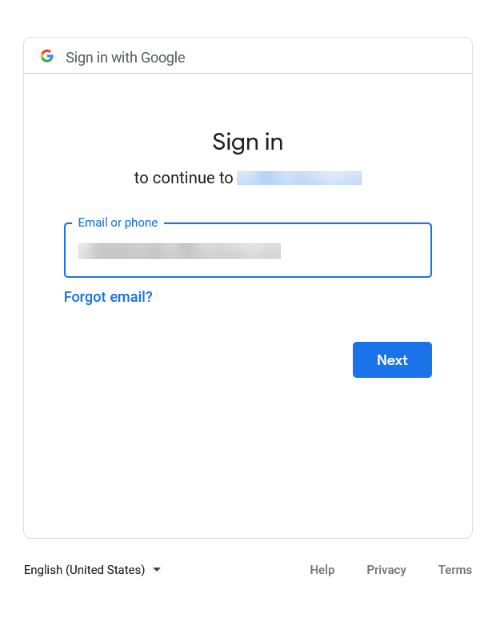
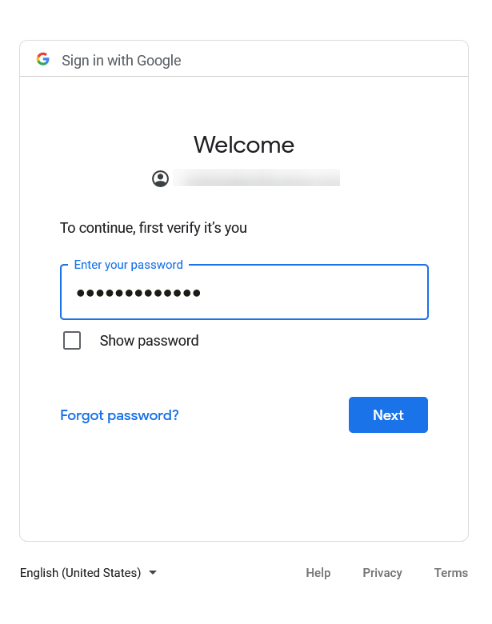
- Sign-in to your google account with your username and password.
- You will be prompted with ‘softaculous.com wants to access your Google Account‘ tab, click Allow

- Once the authorization process is completed, you will be redirected back to Softaculous.
- If everything worked well, you will see a ‘Backup Location added successfully‘ message.

- That’s it, your Google drive backup location is added successfully.
In the next step, we’ll explain how you can backup your WordPress Site at this newly added location.
Step 2: Create your WordPress backup to the Google drive location
Once you are done with Step 1, this step is a piece of cake. You can configure automated backups that occur at specific intervals as well as manual backups i.e. on time backups over Google Drive location.
Configure automated backups to Google Drive for your installation
- Login to your Control panel (e.g. cPanel).
- Look for the Softaculous icon and click on that icon to go to the Softaculous page.
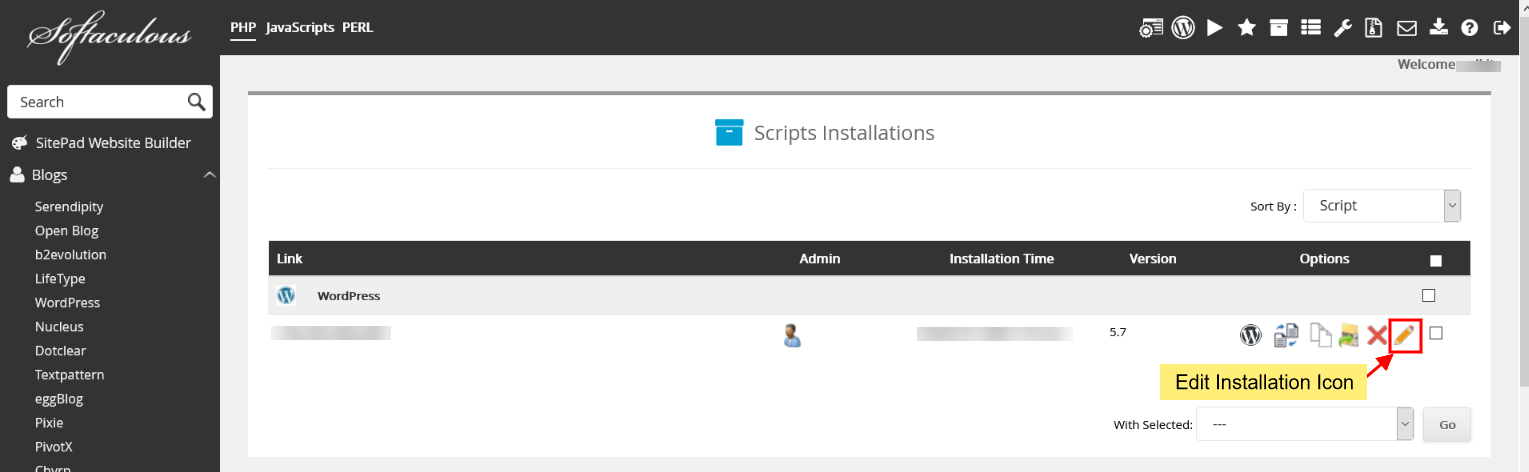
- On the top-right icons section, you can find the All Installations icon. Click on the icon and all your installations will appear on this page.

- Look for the installation that you want to backup and click on the Edit icon, the edit installation details page will appear.
- On the Edit Installation Details Page, in the Backup Location dropdown select the Google Drive location that you created in Step 1.
- Next in the Automated Backups dropdown select the frequency at which you want the backups to be created. e.g. daily, weekly, monthly backups. You can also set custom frequency so that your backups will be created accordingly.
- The last field to set up an automated backup is Backup Rotation. Select the number of backups you wish to be available at any given time. e.g. if you set this as 2 then after 2 successful backups your oldest backup will be deleted.
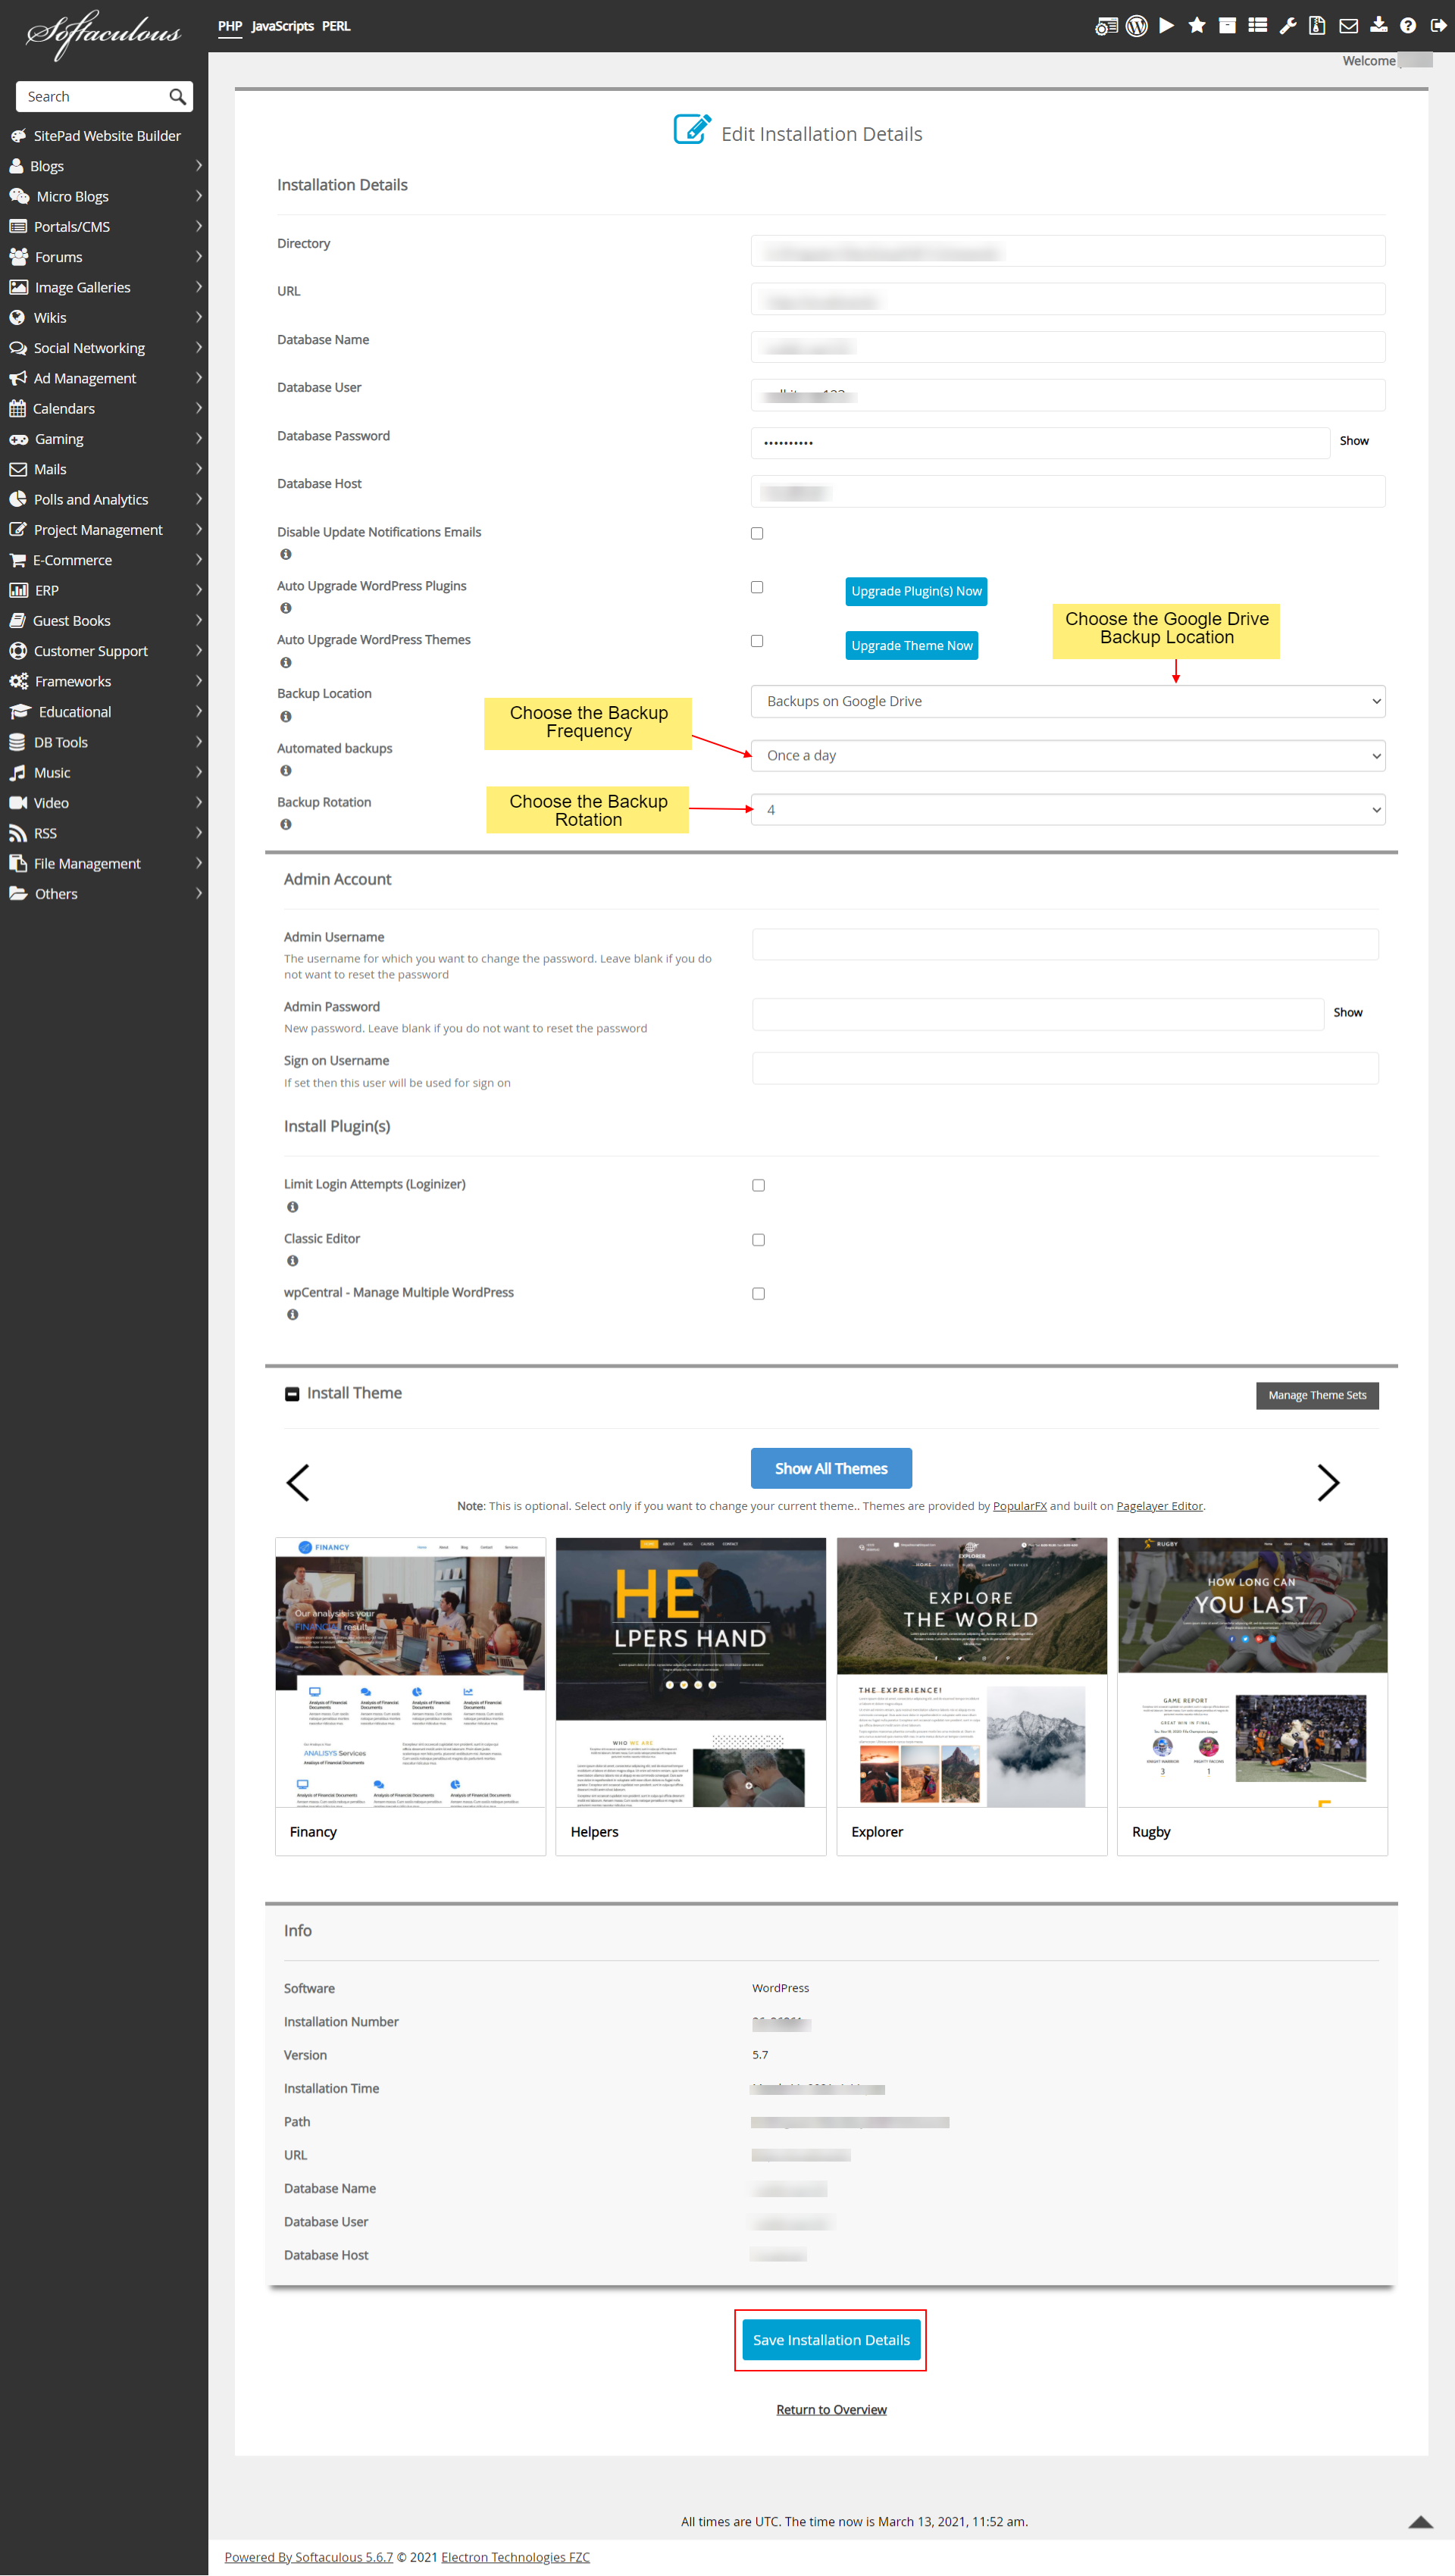
- Click on the Save Installation Details button. This shall setup automated backup of your WordPress site over Google Drive.
That’s it!
Create a manual backup of your Site to Google Drive
If your default backup location is not set as Google Drive you can still manually create a backup on your Google Drive location.
- Login to your Control panel (e.g. cPanel).
- Look for the Softaculous icon and click on that icon to go to the Softaculous page.
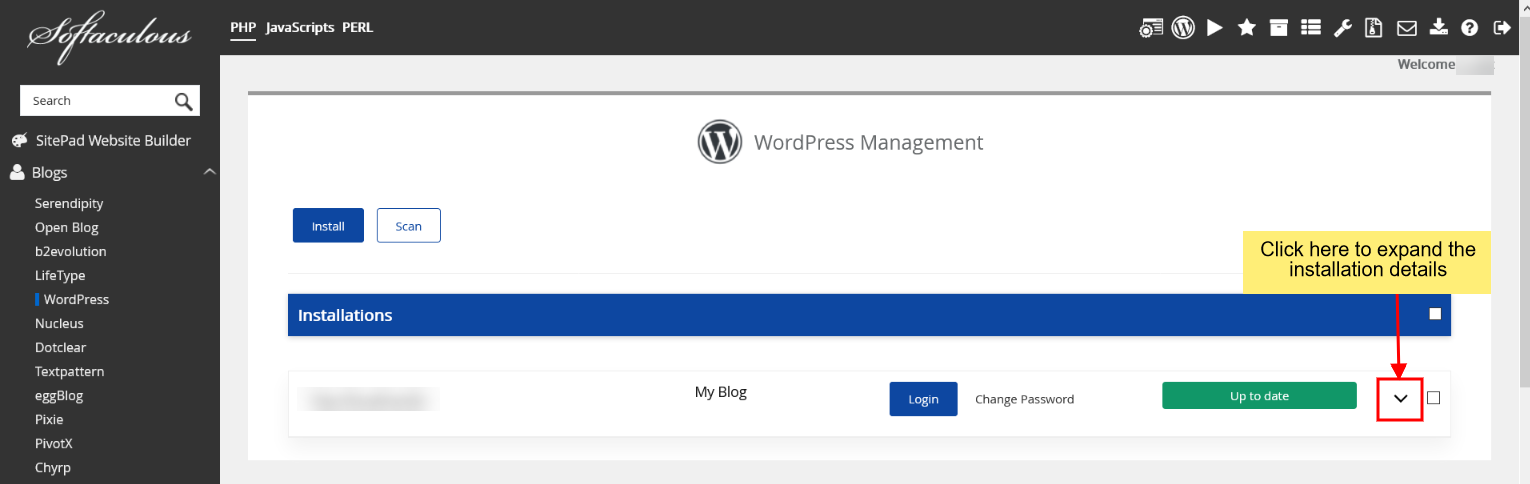
- On the top-right icons section, you can find the WordPress Manager icon. Click on this icon and the WordPress Manager wizard will appear.

- Look for the installation that you want to backup and click on the down arrow icon at the end of the line, this will expand the installation with more details.
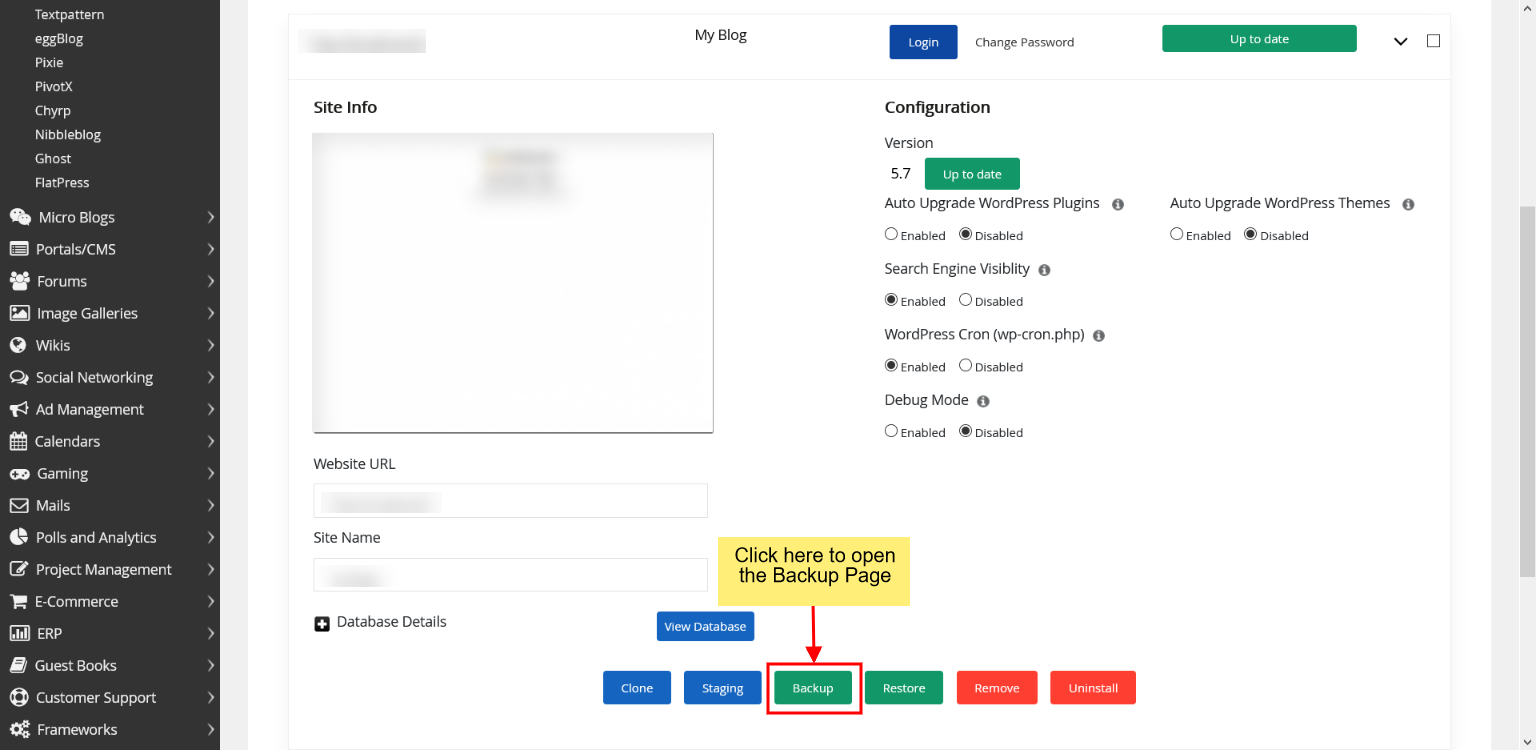
- Now click on the Backup button and the backup page will appear.
- In the Backup Location dropdown select the Google drive backup location that you added in Step 1.
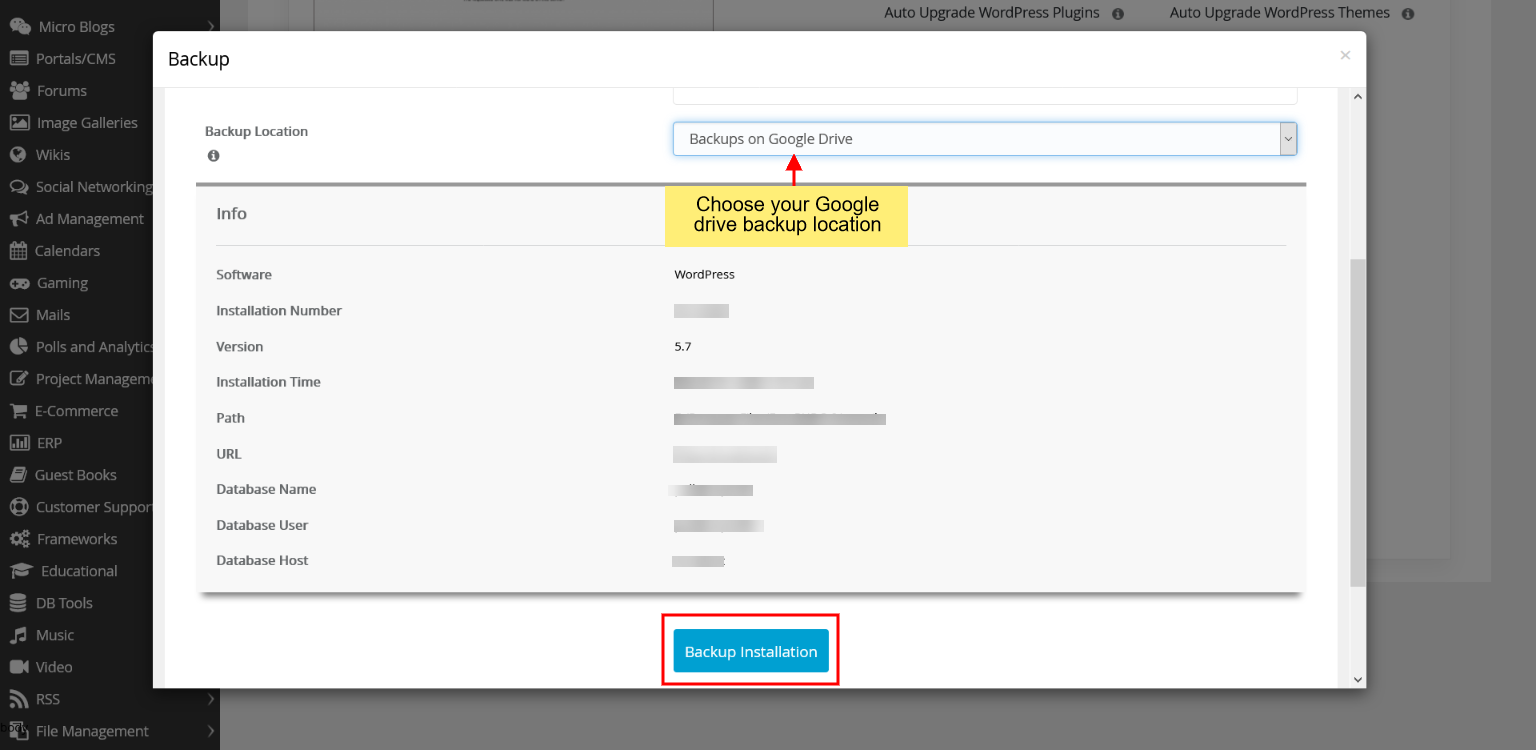
- Now click on the Backup Installation button. That’s it, this will start the backup process of your WordPress site to your Google Drive in the background. You will be notified via email once the backup is completed.
More Information
- For further information about Softaculous features, you can visit https://www.softaculous.com/docs/
- Feel free to contact us at https://softaculous.deskuss.com/ in case you need any assistance.